Digilent’s Zybo-Z7 is a ready-to-use embedded software and digital circuit development board built around the Xilinx Zynq™-7000 family. Xilinx provides free licensing to certain development boards and Zybo-Z7 is one among them. This article provides detailed steps to install Vivado 2022.2 on Ubuntu 22.04 LTS. The same procedure can be followed to install the desired version of the software.
Initial Requirements
- A desktop/laptop with at least 16GB of RAM (DDR4 preferred) and 100GB of free storage space for full installation.
- Create an AMD Xilinx Account to download the software.
More information regarding the system requirements is detailed in the Vivado Design Suite User Guide UG973.
Download Vivado
Navigate to the Xilinx Download page and click on the Xilinx Unified Installer 2022.2: Linux Self Extracting Web installer, this should be redirected to the login page. Log in with the Xilinx Account and download the file.

Running The Installer
To run the unified installer, it must first be converted to an executable file.
chmod -x Xilinx_Unified_2022.2_1014_8888_Lin64.bin
After making the file executable run the the installer with root permissions.
sudo ./Xilinx_Unified_2022.2_1014_8888_Lin64.bin
This will open the installer GUI in a new window.
Vivado Installer GUI
The welcome screen of the installer GUI provides a reminder of the supported OS version.
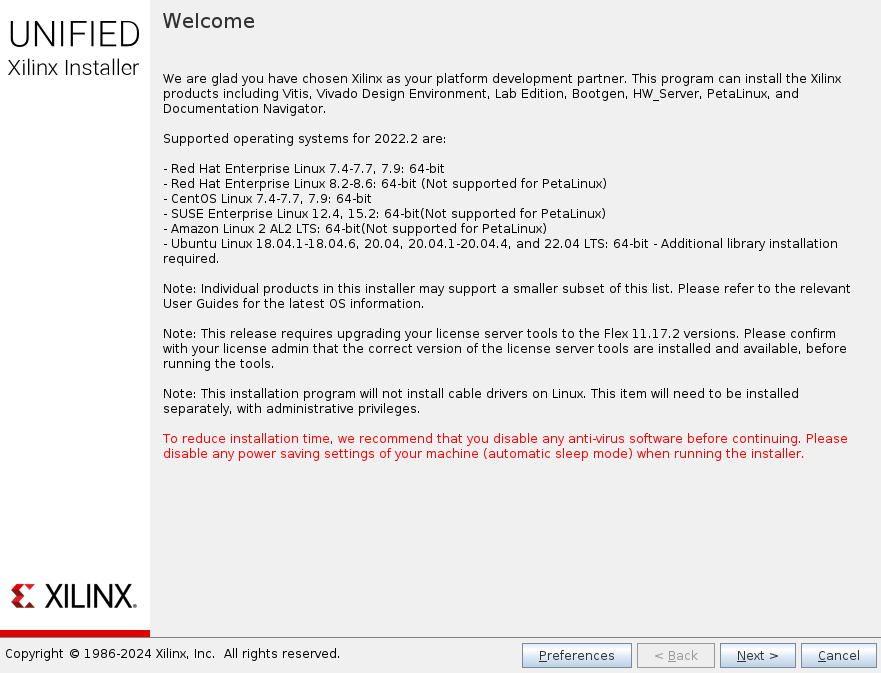
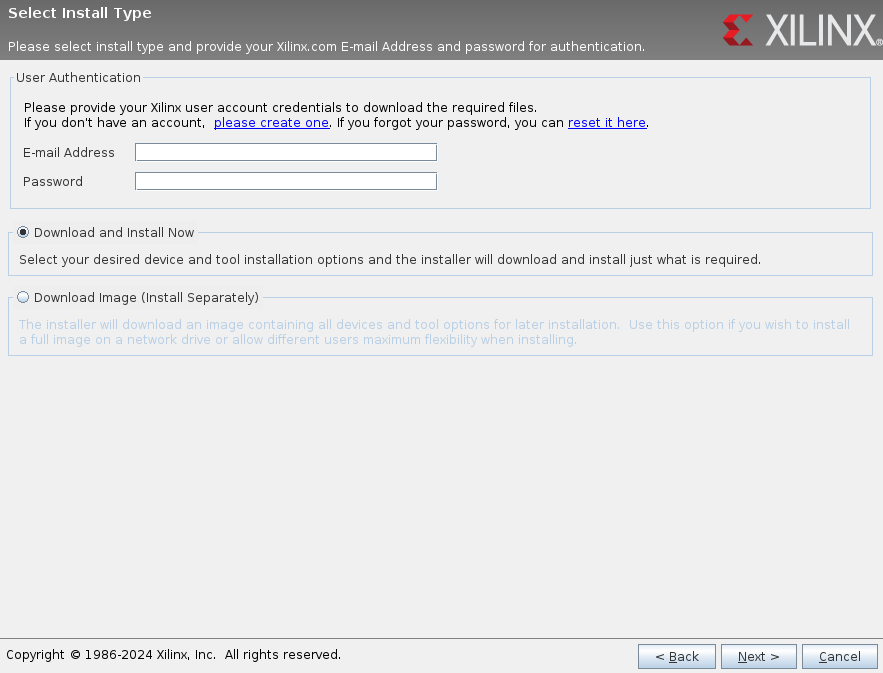
Click Next, to proceed. The next window requires the user to provide the account credentials. The same account credentials were used at the beginning to log in to Xilinx and to download the Vivado software.
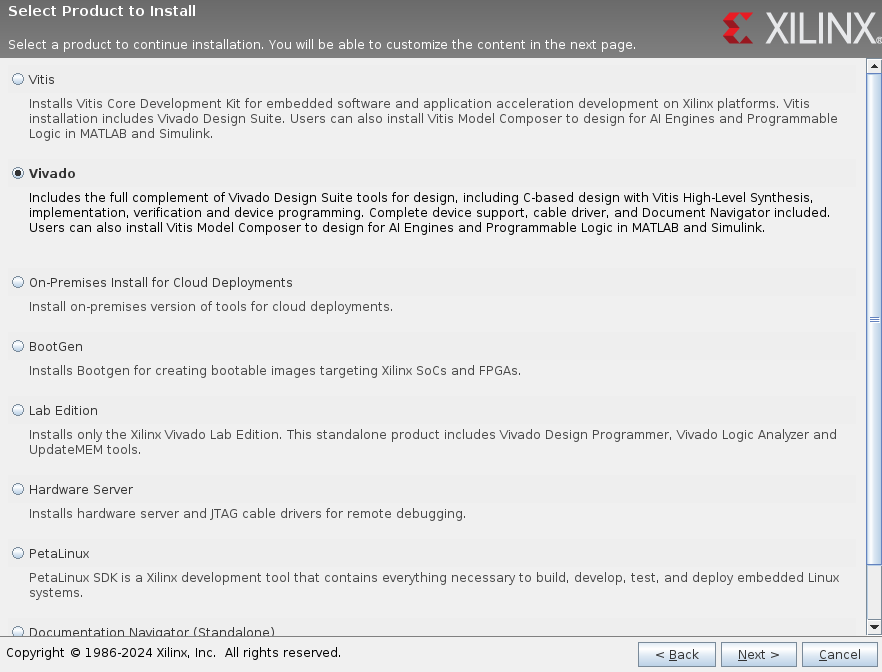
In the select product window, select Vivado and proceed.
Select Vivado ML Standard edition as it does not require a license to generate the necessary file to program the Zybo-Z7 development.
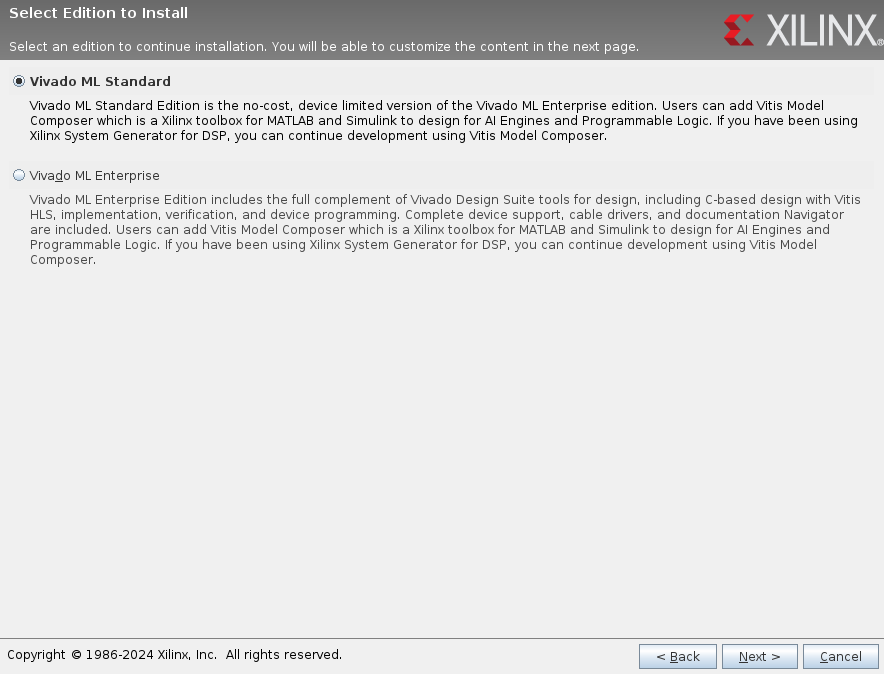
The two versions of Zybo-Z7, Z7-10, and Z7-20 include Zynq-7000 SoC XC7Z010 and XC7Z020 devices respectively. From UG973 table 1, Vivado ML Standard Edition includes the license for the required FPGA.

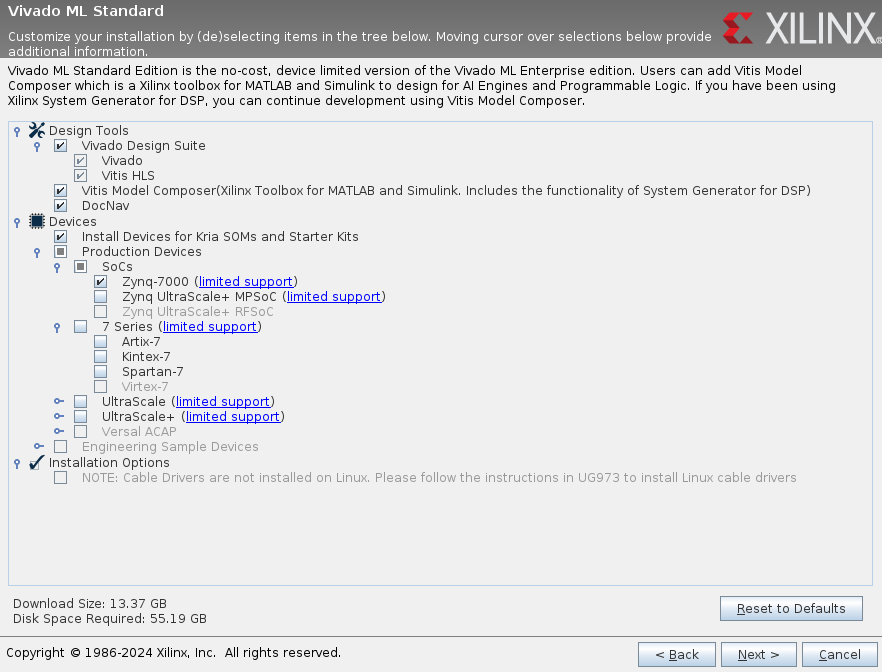
Earlier it was mentioned at least 100GB of free storage is required to install Vivado, installing only the necessary tools and components will reduce the storage space. Installing only the Zynq-7000 SoC will require less storage space as it can be seen in the figure below.
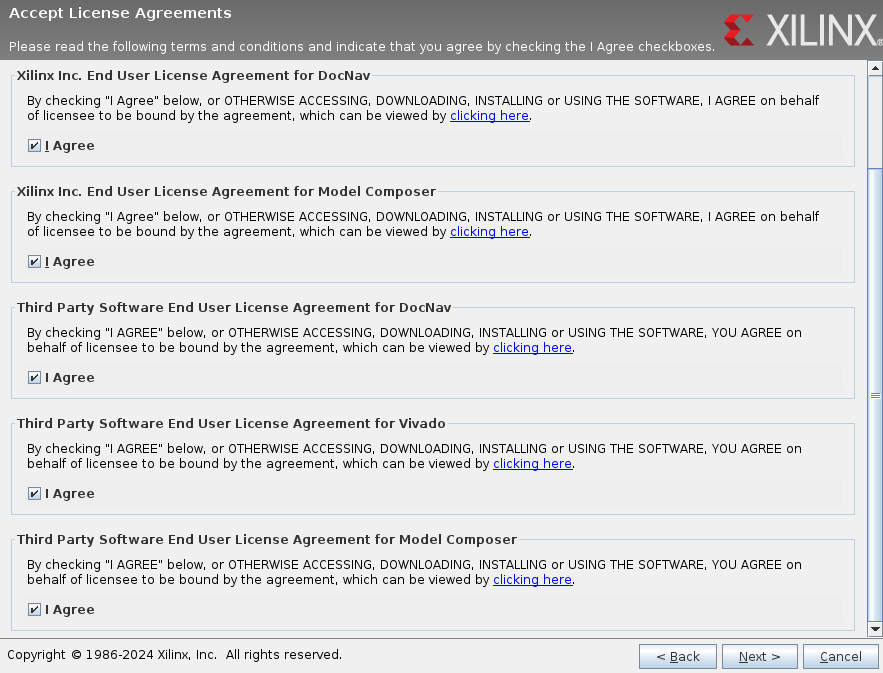
Agree to all the terms and conditions and process further.
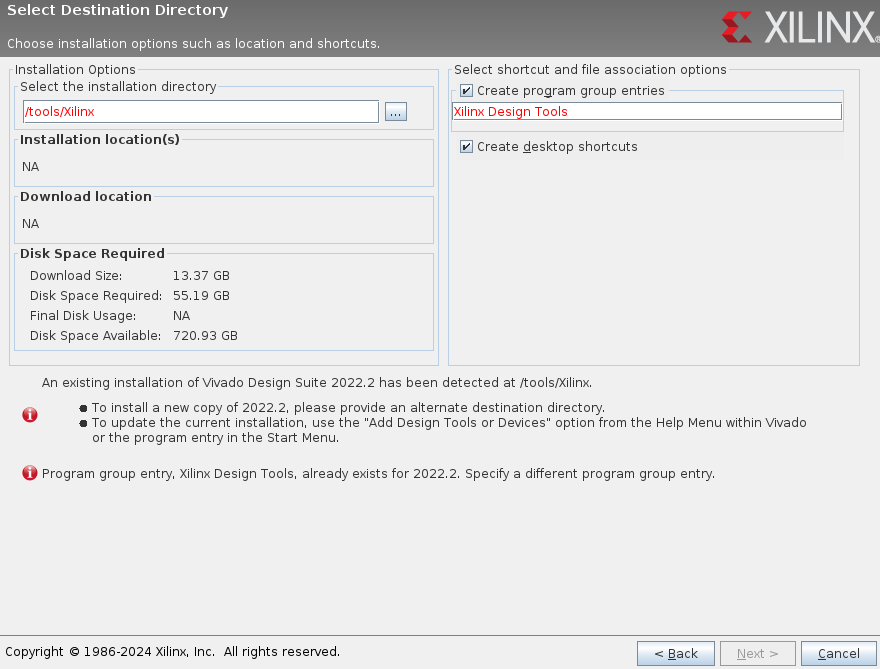
The installing directory should be /tools/Xilinx, there are errors in the image shown below because Vivado is already installed in the specified location. If it is a fresh installation then these errors will not be displayed.
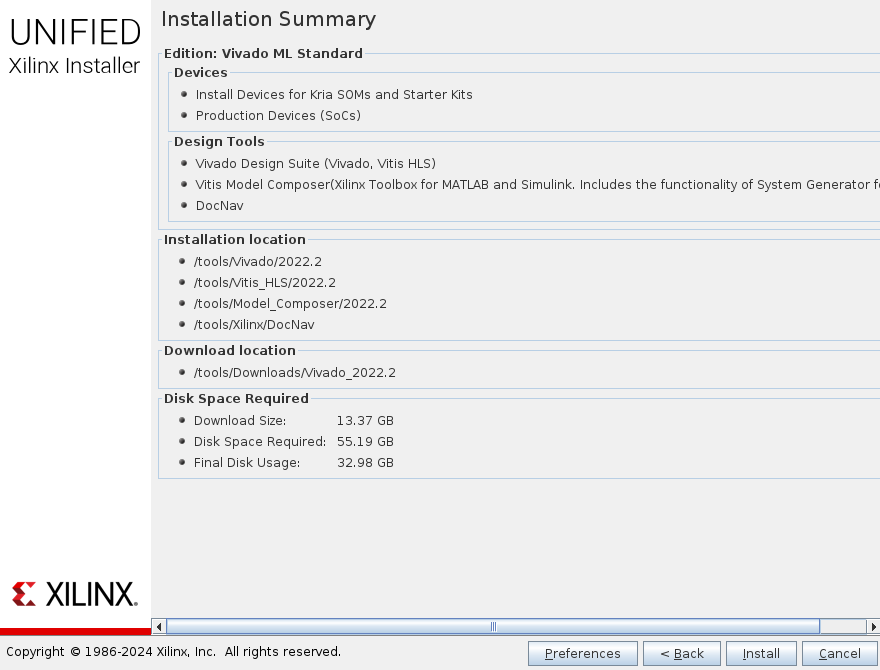
The final step is to click on the install button on the summary window. Here the installation location should specify the selected installation location by the user.
Install Cable Drivers
Once the installation is completed, check if the cable drivers are installed correctly using the following command:
ls -la /etc/udev/rules.d
This should output the following two files:
- 52-digilent-usb.rules
- 52-xilinx-pcusb.rules
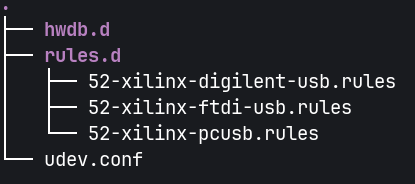
If the above files are not present, run the installer from the following directory:
<YOUR_XILINX_INSTALL>/data/xicom/cable_drivers/<lin64 or lin32>/install_scripts/install_drivers
Example:
/tools/Xilinx/Vivado/2022.2/data/xicom/cable_drivers/lin64/install_script/install_drivers
Launch Vivado
Vivado can be launched from the terminal by executing the Vivado command. To enable this, the following should be added to the ~/.profile file.
source /tools/Xilinx/Vivado/2022.2/setting64.sh
Note: Add the appropriate Vivado version folder in the source path.